

 The human eye is truly amazing. We are able to see millions colours irrespective of whether we are inside or outside, candle light or daylight. As we are used to this we really take it for granted. Cameras on the other hand are a lot more limited than we think. Time and again when looking back at photos we’ve taken, the colours don’t seem to be how we remembered them when we were there taking the photo. This is really noticeable when taking photos indoors with different light sources.
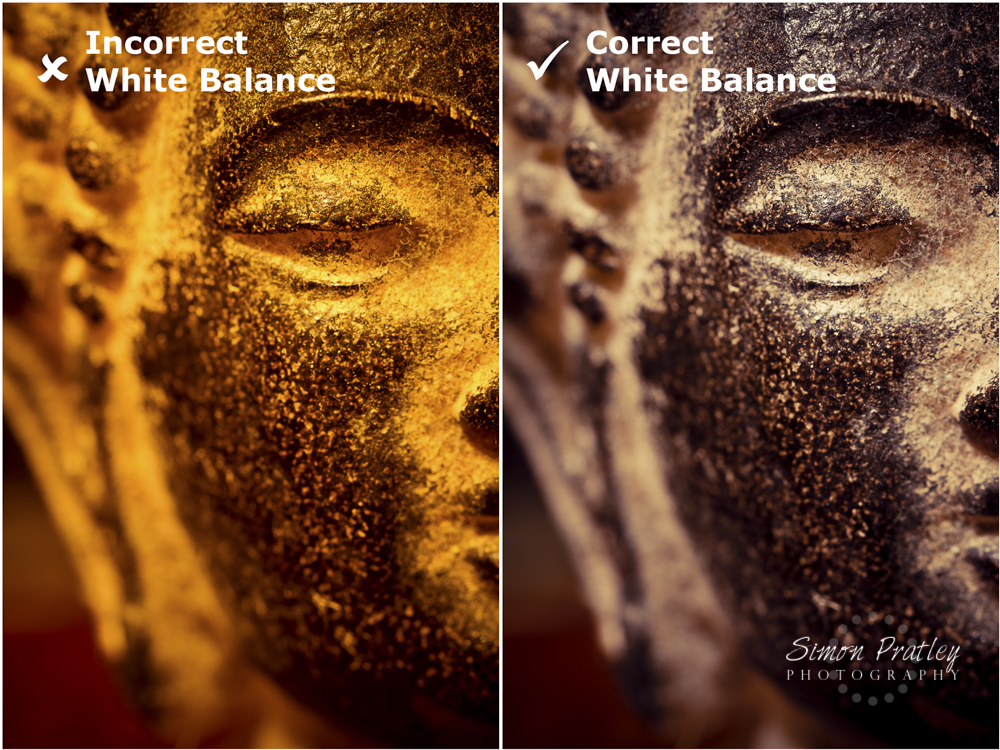
Each type of lighting situation gives off a different colourcast. Our eyes see this, but our brains compensate for it and therefore we don’t even notice. Our cameras on the other hand don’t have brains to automatically calculate andcompensate for this colourcast and therefore show the scene for what it really is. We refer to this colour change as a change in the White Balance. Each lighting situation has a different white balance.
Have you ever noticed when looking back at photos taken inside with standard overhead light globes that everything looks really warm and yellow? Sometimes this looks nice and cosy, but the colour is not natural. Same with taking a portrait of someone under fluorescent lights, their skin ends up looking green and sickly. Broadly speaking, light from a standard household light tends to give off an orangey yellow colourcast. A fluorescent light gives a green colourcast, a shaded area or on a cloudy day you will have a bluish colourcast and in full sun a yellow colourcast. If we don’t compensate for these colourcasts, we end up with a photo with very strange unnatural colours. Thankfully camera manufacturers are aware of this and have built a solution so we can easily adjust the white balance in camera.
All digital cameras have a range of white balance settings. Each camera and manufacturer has slightly different names for each setting, but they all work the same way. Usually when you buy your camera it is set to Auto White Balance. This allows the camera to take a reading from the scene you are about to shoot and then makes an average reading on what white balance to use. A word of advice, don’t trust the camera’s judgement by using the auto white balance setting. This goes for any camera, even expensive DSLR’s. If you want to capture true colours then select the setting manually for each lighting situation.
Once you have done it a couple of times, it becomes second nature. Most cameras simply use symbols like:
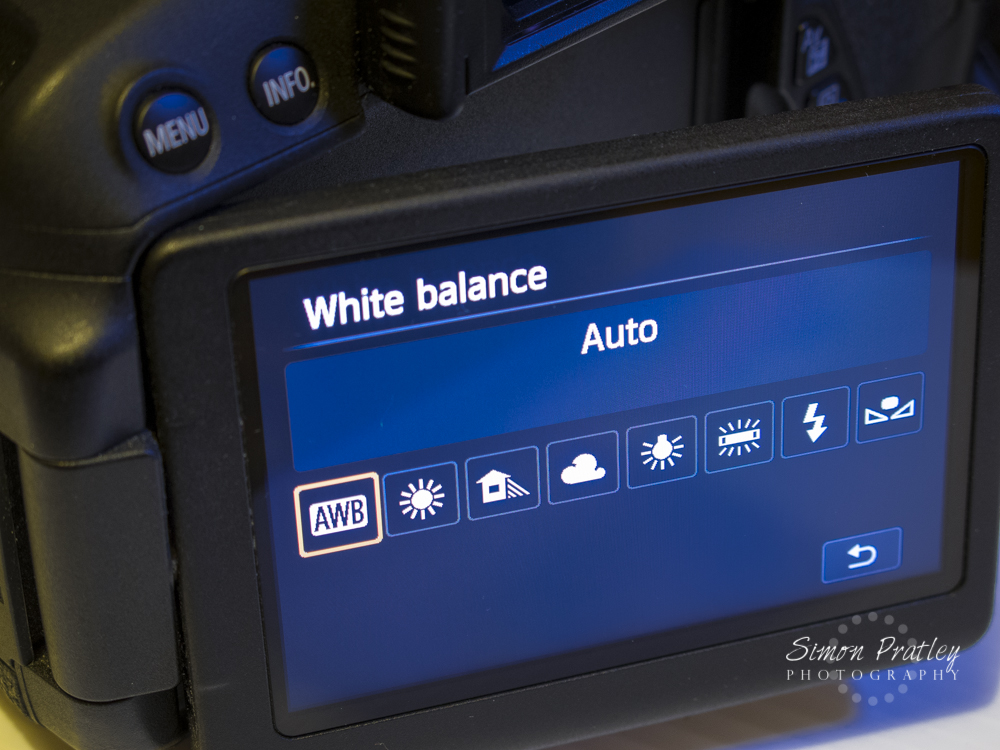 AWB: Auto white balance
The camera makes it’s mind up on what white balance setting to use.
Don’t rely on this if you want natural colours.
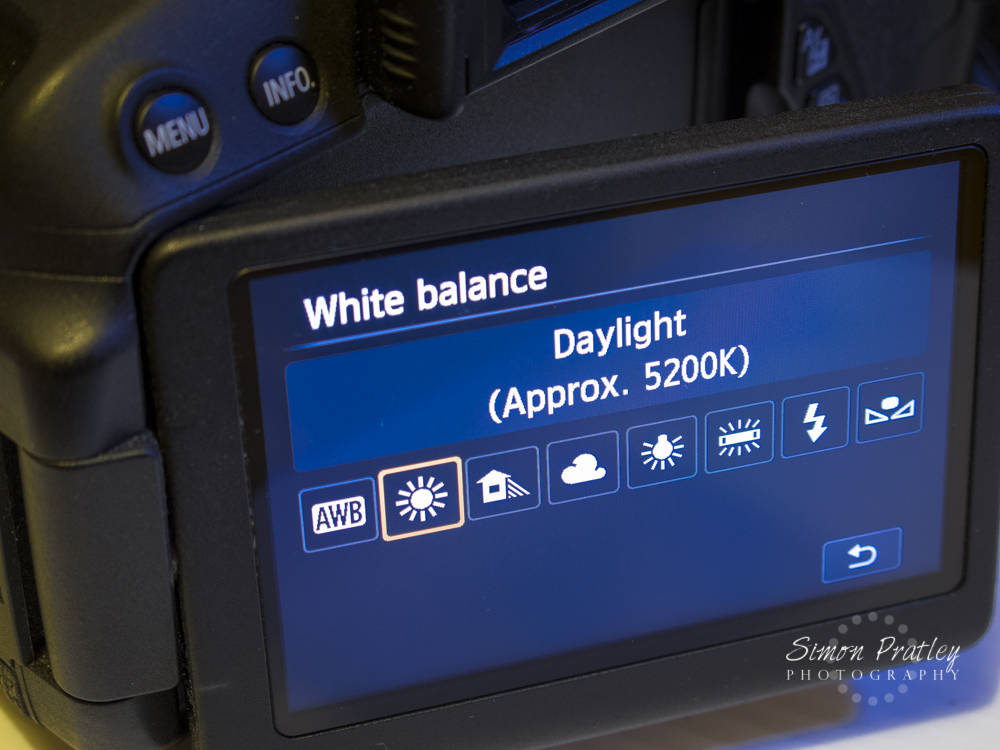 Sun/Daylight
For removing the yellow colourcast when shooting outside on a sunny day.
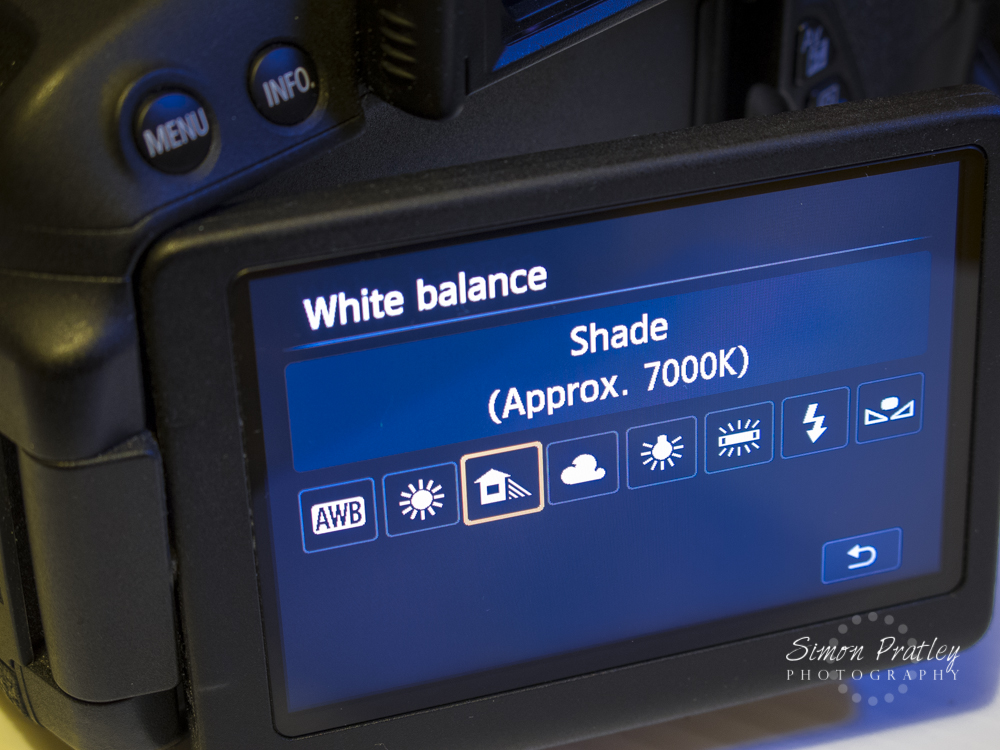 Shade
ShadeUsed in shaded areas to remove the blue colourcast.
 Cloudy
For cloudy situations to remove the blue colourcast.
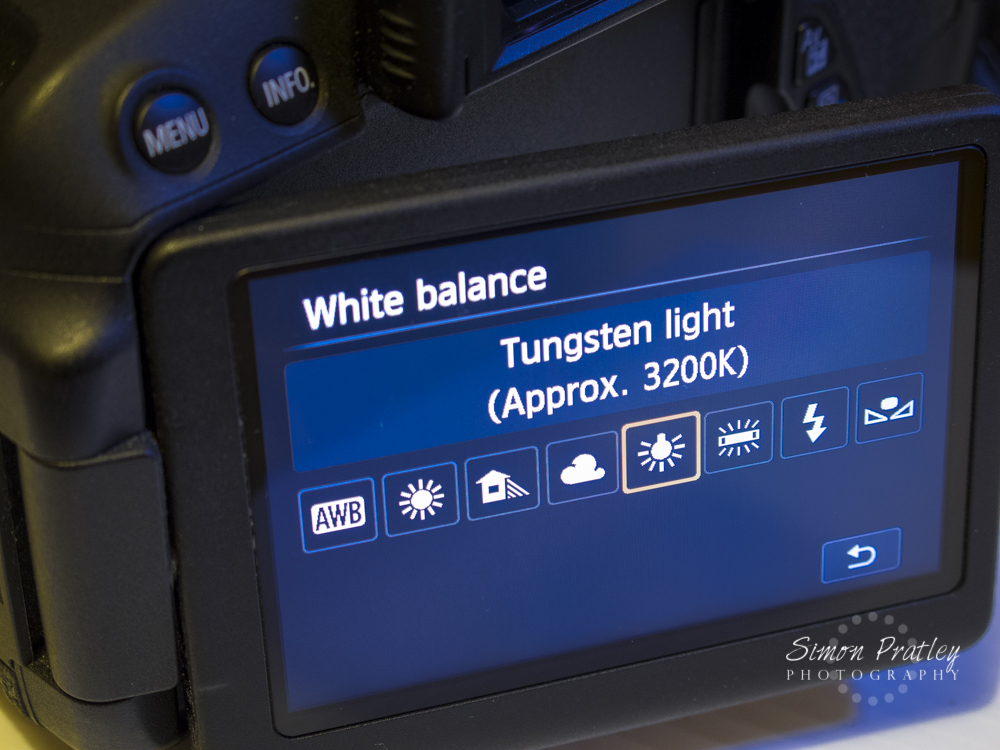 Tungsten Light Globe
For shooting under tungsten or standard home overhead lighting to remove the yellow colourcast (also great for candle light).
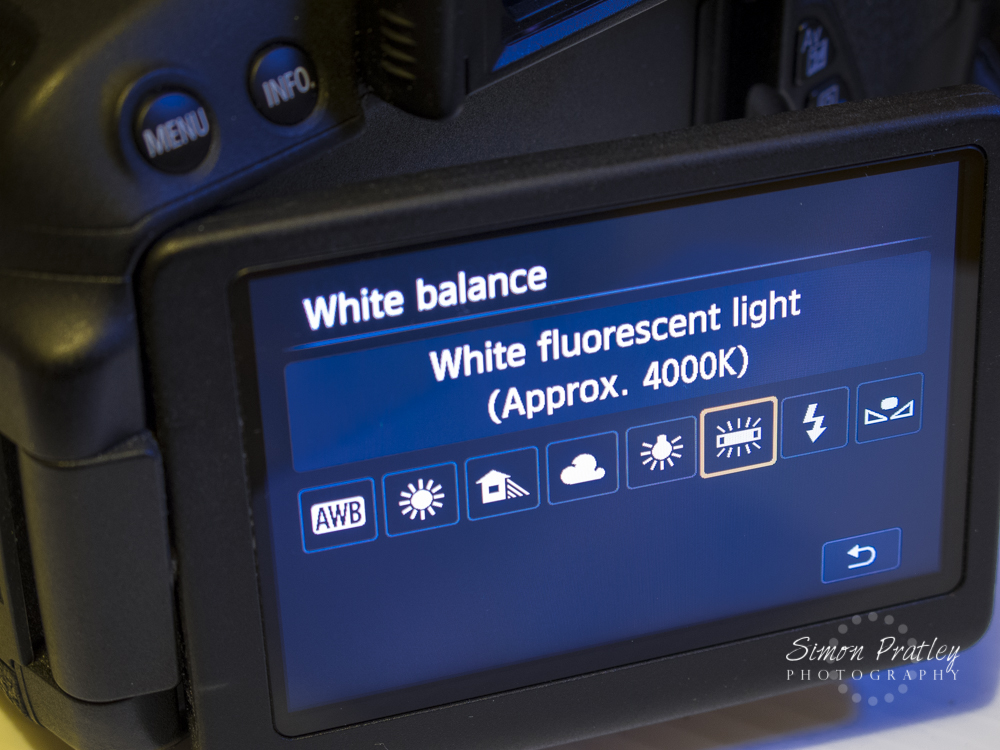 Fluorescent
A rectangle with lines coming off it meant to be a fluoro tube for removing the sickly green colourcast.
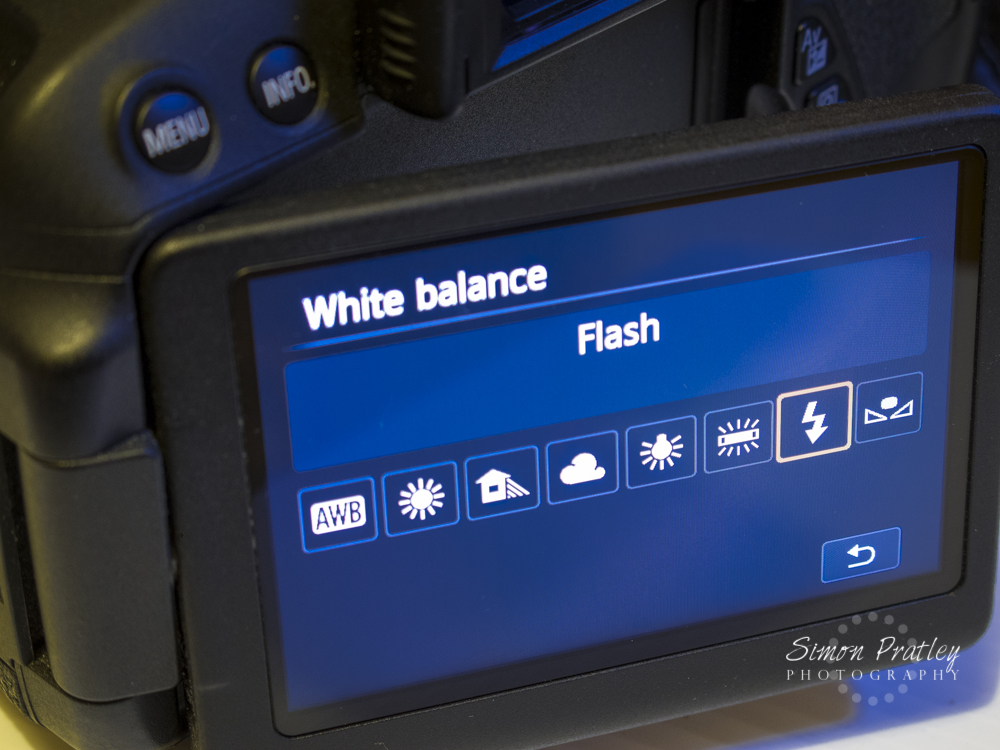 Flash
FlashThis lightning bolt setting can be use when shooting with flash.
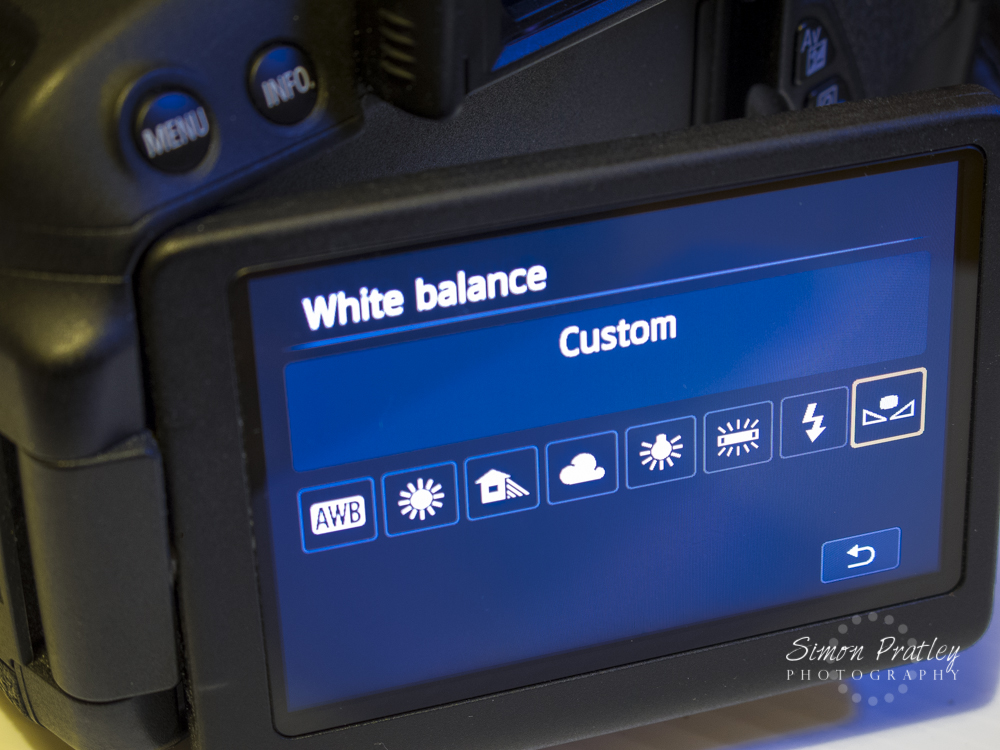 Custom
Sometimes there is also another setting called Custom White Balance. This one is a bit more advanced to use so please skip the next paragraph if you don’t want to get too complex.
Custom White Balance gives the best results, but requires you to shoot at something in the scene that is 18% grey. There are 18% grey cards available quite cheap online to be used in for this setting. Fill the screen with 18% grey and take a photo, then go into the menu and select set custom white balance. The grey image will appear on your LCD screen, click OK. Now you have a custom white balance set to the correct colourcast for the lighting situation of where you are. Bear in mind that as soon as you move from there, the lighting will most likely change and you will have to reset again. You don’t need to buy a specific photographer’s grey card. You could use or buy a piece of light/mid grey cardboard and make our own grey card. A white piece of paper can also be used, though it is not as good as using 18% grey.
Even though our eyes don’t pick up these colourcasts given off by different lighting sources, it is a good idea to keep in mind that by simply changing the White Balance setting on the camera, we will have more realistic colours and be happier with the results.