

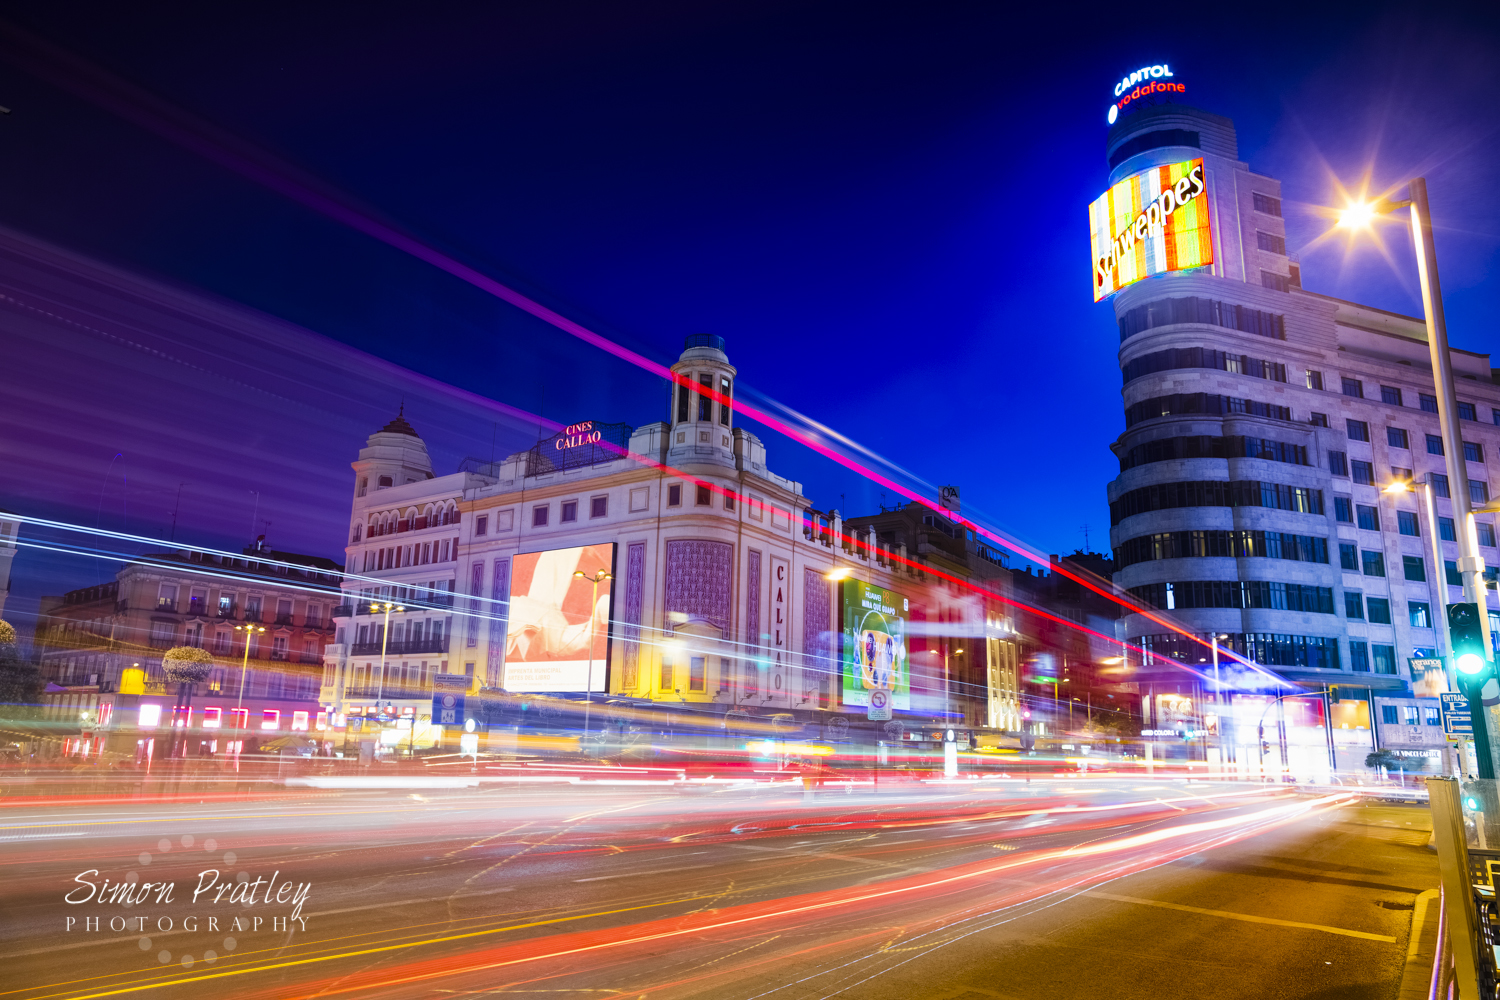
Photography is an art form that allows you to create images with the camera that your eye can’t recreate naturally. Light, distance and time can be manipulated to create images that look dreamlike. There are many different techniques that can help you achieve your creative goals. One of these techniques that is most satisfying and fun to do is creating light trails. This is a technique that is not at all difficult and can produce fascinating images.
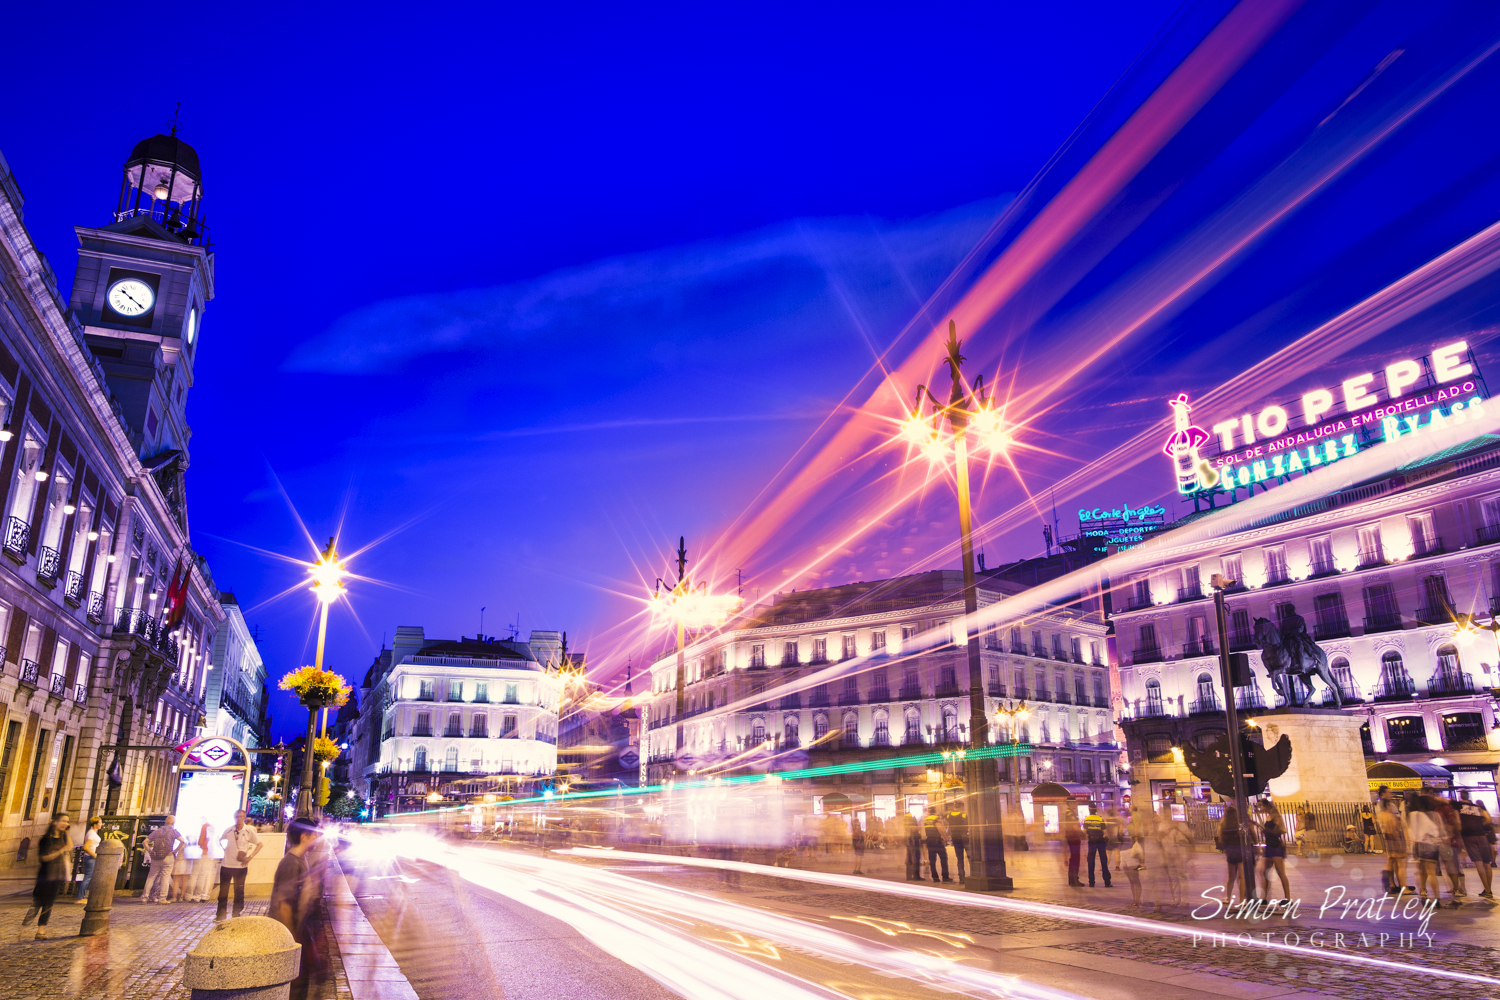
Light Trails at la Puerta Del Sol, Madrid. This was a 10 second exposure with the camera mounted on top of a tripod to eliminate camera shake.
Light trails are most typically created by head and tail lights on cars, trucks and road traffic. Though photographing moving boats, aeroplanes and trains can also have good results. The best time to take photos of light trails is just after sunset or into the early evening. Photographers refer to this time as the “Blue Hour”. It is typically the time of the day where everything has a beautiful blue colourcast (this blue hour also happens just before sunrise). In the evening, photos taken after the blue hour won’t show as much detail in the sky as it will be too dark. Also typically the later in the evening it gets, the less traffic there will be to photograph.
This image was a 10 second exposure set at an aperture of f/8. Notice how the light from the streetlight looks like a star. This is thanks to
To make light trails you need to look for a busy road or intersection, or at least somewhere where traffic is passing consistently with it’s lights on. You also need to consider your composition and what will appear in the background of your image. Does the intersection or roadway have an interesting feature? Perhaps look for a well known building, billboard or landmark. It could be a man made object, or consider something natural like an interesting mountain.
Now hat you have scoped out a suitable location with an interesting background, the next thing is to capture the passing traffic with a long exposure. What will happen is the background will remain stationary and the lights on the passing traffic will create the light trails.
The best camera setting for light trails is in full manual, though if your camera only has semi manual, use the Tv setting as this allows you to control the shutter speed. A typical exposure for taking light trails can be from 1 second to 30 seconds. Though if your camera allows it, longer exposures are also possible. Try starting with a 2 second exposure and check the result on the camera’s LCD screen. To assist your camera reach a 2 second exposure, Use an ISO of 100 and a closed aperture of around f/11 or f/16.
The great thing about using a closed aperture is it will help you to make streetlights have that starburst effect due to the light refracting off the lens’s aperture blades. The opposite of bokeh!
Did you know that the amount of blades on your lens effects how many points the starburst in the streetlights will have? An even number of blades such as 6 or 8 blades will give you a 6 or 8 pointed star. An odd number of aperture blades with give you double. 7 aperture blades will result in a 14 pointed starburst and 9 aperture blades will result in a 18 pointed starbust! If you don’t know how many blades your lens has, just count the points of the star. The more closed the aperture (f/16, f/22), the clearer the startburst.
Since you will need a long exposure to make light trails, you definitely need a tripod or a stable surface, like a table, a wall or even the ground. Creating a long exposure is not possible with the camera hand held, as the pulse in your hands will create camera shake and result in blurry images.
To help to reduce camera shake even more, use either a cable release or the timer setting on your camera. If using the timer setting, set it to 2 seconds or more. This way you don’t need to touch the camera when taking the photo and therefore there won’t be any blurry photos.
Take time to experiment with this technique, it is really enjoyable and results in some interesting photos. Including light trails in your photo catalogue give you a more varied photographic repertoire and another string to your bow.